Building Ponds with a Pond Liner in your Garden
Creating a serene pond oasis in your backyard sounds like a great project! Here’s a step-by-step guide on how to install a pond liner in your garden:
1. Plan Your Pond:
Determine the pond’s size and shape.
Choose a location that gets a good balance of sun and shade.
Mark the area with spray paint or a garden hose.
2. Dig the Pond:
Start digging, making sure to create different depths (shelves) for plants and fish.
Check the edges to ensure they're level.
3. Remove Debris:
Clear any rocks, roots, or sharp objects from the hole that could puncture the liner.
Consider adding a layer of sand or an underlayment fabric for extra protection.
4. Place the Liner:
Unfold the liner and place it over the pond.
Allow it to drape loosely and fit into the contours of the hole.
Ensure there’s enough liner overlapping the pond edges.
5. Fill the Pond:
Start filling the pond with water while adjusting the liner to avoid wrinkles.
Smooth out any creases as the water fills.
6. Trim the Liner:
Once the pond is filled, trim excess liner around the edges, leaving enough to tuck under stones or edging.
7. Secure the Edges:
Use rocks, stones, or edging materials to secure the liner and create a natural-looking pond edge.
8. Add Finishing Touches:
Install a pond pump, filter, or any desired water features.
Add plants, fish, and other pond life.
9. Enjoy:
Sit back, relax, and enjoy your new pond!
If you have any specific questions or need more details on any step, feel free to contact us.

To browse our range of pond liners for building garden ponds please click here.
To browse our range of preformed ponds for gardens please click here.
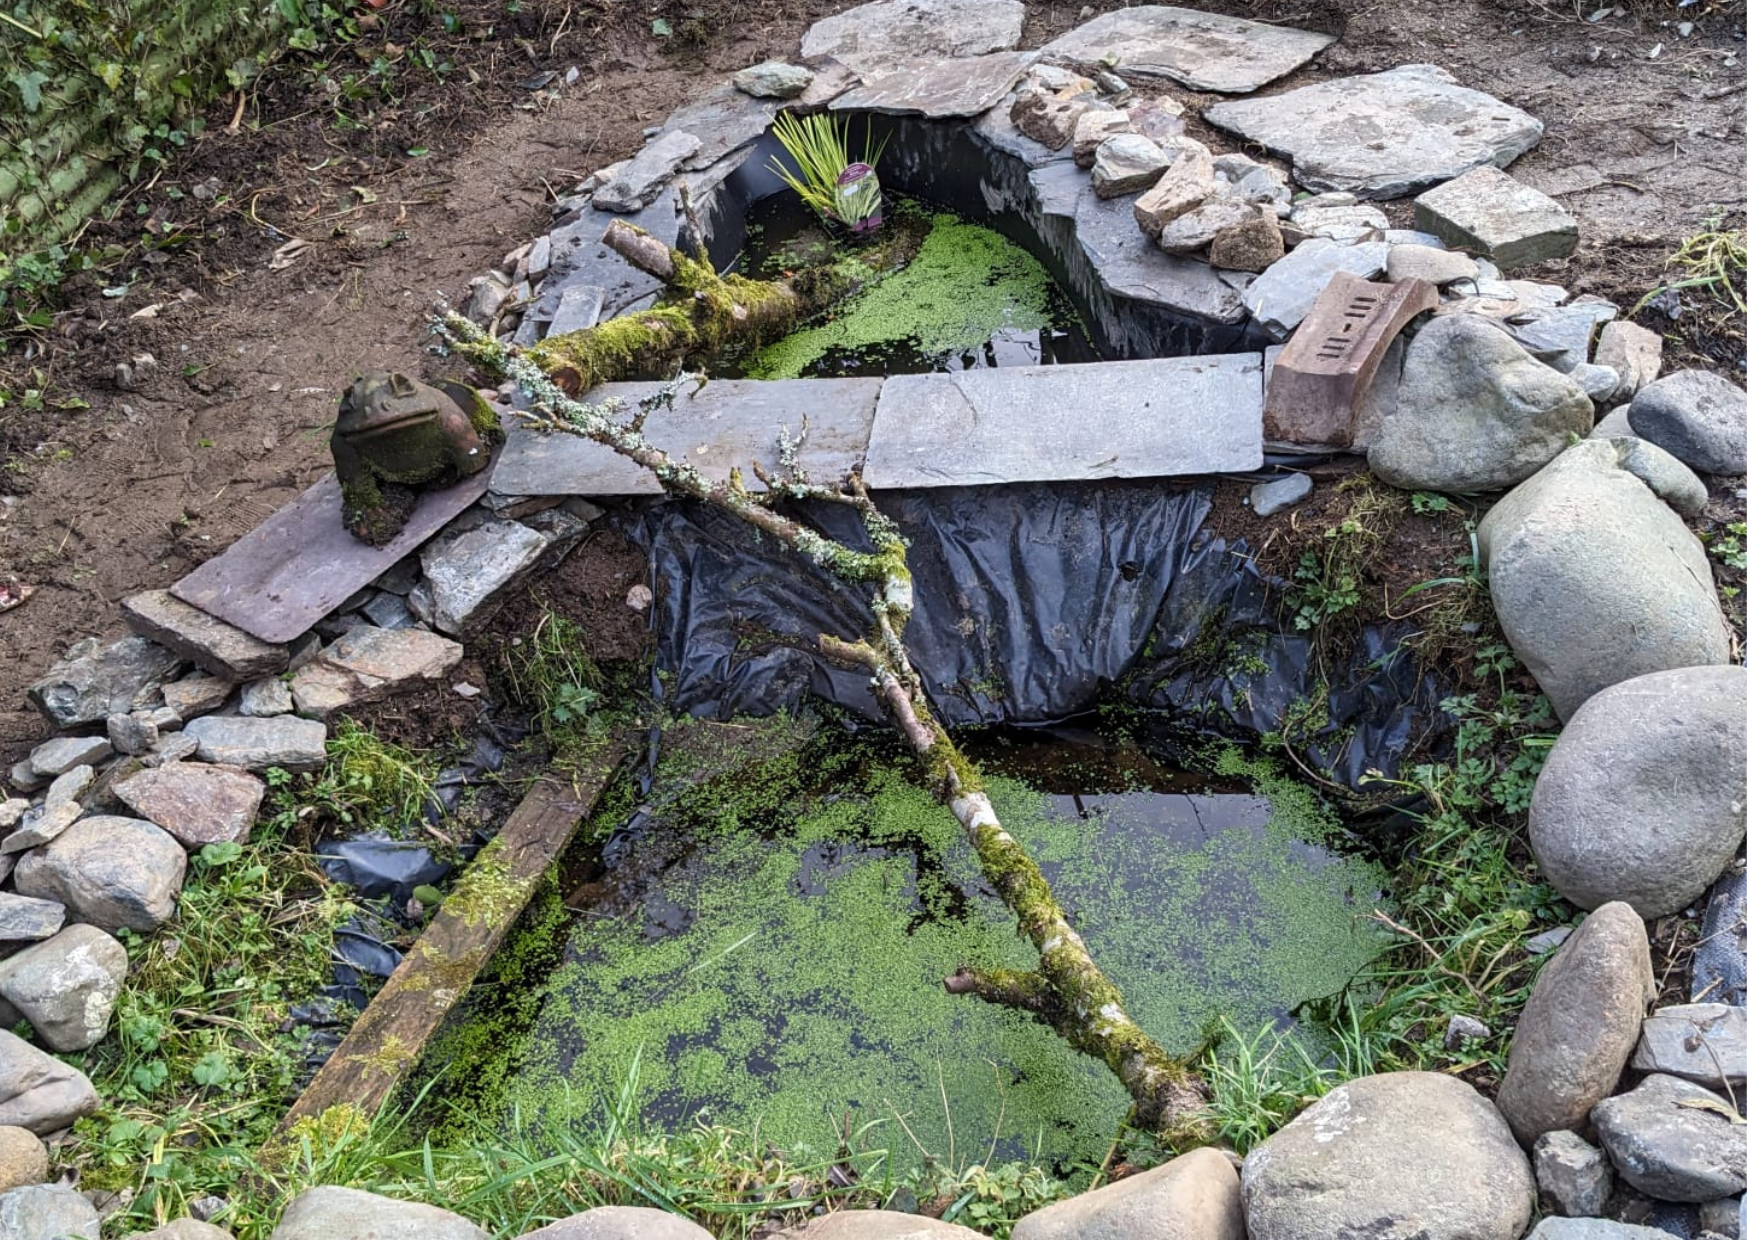
Photo credit(s): Allotment Pond by Christine & Robert Smith, Tavistock.


